Have you ever looked at your Roblox avatar and thought, “I could totally design a cooler shirt than that!”? Well, you’re in luck. Designing your own custom shirt for your avatar isn’t just a fun project; it’s a chance to express your creativity and show off your unique style in the Roblox universe. Whether you’re a beginner or a seasoned digital artist, this guide will walk you through everything you need to create awesome Roblox shirts.
Key Points
- Learn how to use a Roblox shirt template.
- Create custom designs from scratch.
- Use tools like Alive Studio to make the process easier.
- Add text, logos, and patterns for personal flair.
- Step-by-step guide to uploading your creation.
What You Need to Start Designing a Roblox Shirt

Before jumping into the creative fun, let’s talk about the basics. Designing a shirt for your avatar on Roblox isn’t as complicated as it might sound. Here’s a quick rundown of what you’ll need:
- A Roblox Account: Duh, you need to have one to upload your shirt.
- Design Software: Anything that can handle .png files will do. Popular choices are Photoshop, GIMP, or even free online tools like Canva.
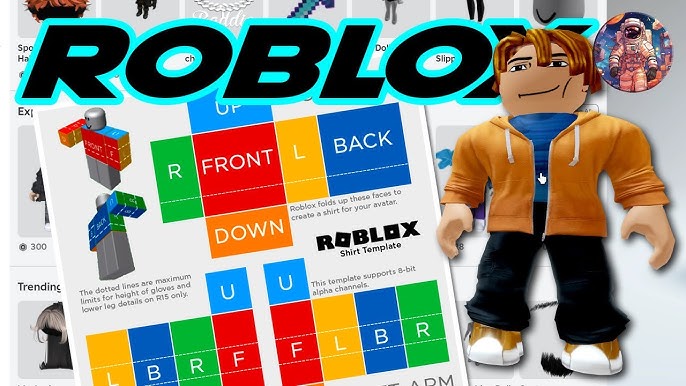
- A Roblox Shirt Template: This blank canvas is the foundation of your design. You’ll need the right dimensions and format to make it work. Lucky for you, the Roblox shirt template is readily available online.
Once you have these in place, you’ll be ready to start creating your masterpiece.
How to Use the Roblox Shirt Template for Your Design
The Roblox shirt template is the key to making sure your design fits perfectly on your avatar. It’s a .png image that you can customize to your heart’s content. The dimensions are preset to ensure the design will work well with Roblox’s system. If you’re using Alive Studio, don’t worry about manually downloading the template—Alive Studio has it preloaded, which makes things way easier.
Now, let’s break down the template:
- Front, Back, and Sleeves: The template is divided into sections: the front, the back, and the sleeves. Make sure to design each part according to how you want it to appear on your avatar.
- Transparency: The shirt template has transparent areas, meaning you can freely add colors, images, or logos without worrying about cutting out the background.
- Canvas Size: You’ll need to make sure your design fits within the 585×559 pixels canvas. Don’t try to go overboard—keeping things neat and in scale will save you headaches later.
Pro tip: Don’t worry if your design looks weird at first. Trust the process! It always takes a few tweaks before everything clicks.
Tips for Crafting Awesome Shirt Designs
Now, it’s time to unleash your creativity. Here are some tips to help make your design stand out:
- Keep it Simple: Too much detail can be hard to see on an avatar. Aim for bold, clean designs with striking colors.
- Use Text Sparingly: If you’re adding text, make sure it’s legible and not too crowded. Roblox avatars have tiny areas for text, so short and sweet is the way to go.
- Add Patterns and Logos: You can upload logos or add patterns to make your design pop. Just be careful about copyright rules—avoid using anything you don’t have permission to use.
- Match with Roblox’s Style: While it’s tempting to go full-on abstract, remember that your design should still vibe with the Roblox aesthetic. Think about what looks cool in the game and try to match that style.
- Consider Your Audience: Is your design edgy or cute? Think about the people who might want to wear your shirt. Making a design that fits a certain “look” can help you attract more attention.
Quick Note: Don’t be afraid to experiment! Your first few designs may not be perfect, but you’ll get better with each one.
Uploading Your Creation to Roblox

Once you’re happy with your design, it’s time to upload it to Roblox. Here’s how you can do it:
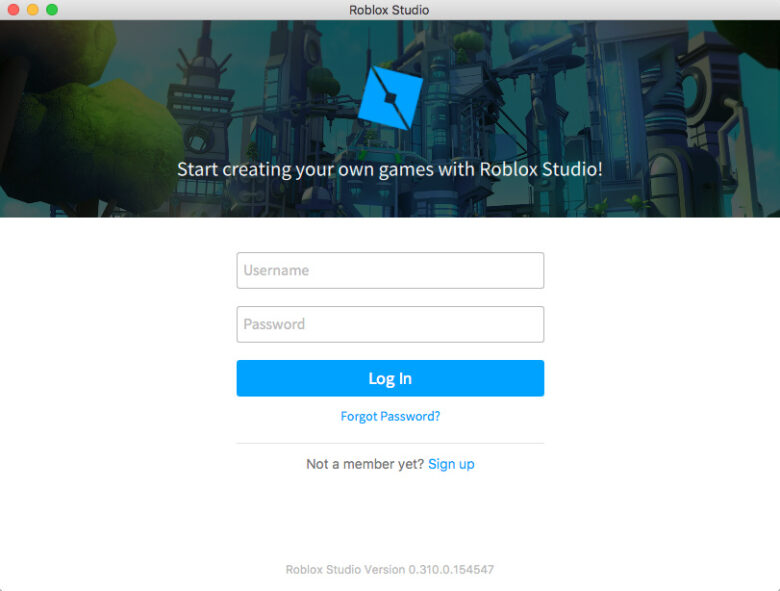
- Log In to Roblox Studio: Go to the ‘Create’ section and choose ‘Shirts’ under the ‘My Creations’ tab.
- Upload Your Shirt Design: Click ‘Choose File’ and select your .png file. Once uploaded, give your design a name and description.
- Pricing (Optional): If you want to sell your shirt, set a price. If not, you can leave it free for everyone.
- Submit: Click ‘Upload’ to finalize the process. Now, your shirt will be available for use on your avatar.
Pro tip: Double-check your design’s placement before hitting upload. It’s easy to miss a small detail like a logo being off-center, and once it’s up there, it’s harder to fix.
Troubleshooting Common Design Issues
So, you’ve uploaded your creation, but something doesn’t look quite right. Here’s how to troubleshoot some common issues:
- Design Doesn’t Fit Right: If the shirt looks too big or too small on your avatar, you might need to adjust the sizing of your template. Revisit your design software and make sure it fits within the correct dimensions.
- Color Issues: Some colors might not appear as you expected once the shirt is uploaded. Bright or neon colors tend to look different depending on the lighting in Roblox, so it’s a good idea to test your shirt first.
- Error Messages: Don’t panic! If Roblox gives you an error message when uploading, it might be due to a format issue or the size of your design. Check the file size and dimensions again and make sure it’s in .png format.
Quick Fix: If something doesn’t work, try again! Sometimes it takes a couple of tries to get everything just right.
Final Thoughts
Designing a shirt for your Roblox avatar is a fun and creative process, and with the right tools and tips, anyone can do it. Start by using a Roblox shirt template and build on it with your unique flair. Whether you’re making a shirt for yourself or to sell, it’s all about experimenting and having fun.
So grab that template, open your favorite design software, and start creating! And hey, if you mess up, just remember: every great artist has made a ton of mistakes. Just learn, tweak, and keep going.
