
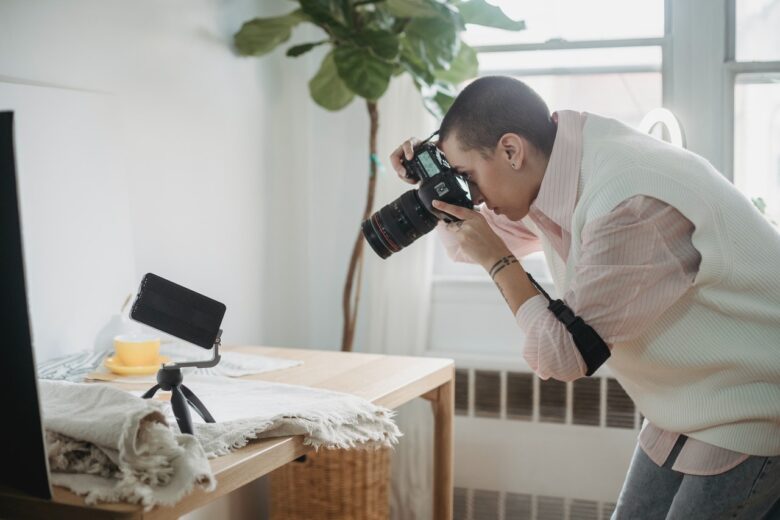
In the bustling world of eCommerce, your product photos can either be your ticket to success or a quick pass to obscurity. With most online shopping decisions influenced by visual appeal, high-quality photographs are more important than ever.
But what do you do when you’re bootstrapping your business and can’t yet afford a professional photographer? Fear not, because this article is all about turning your home into a makeshift studio and mastering the art of DIY product photography with some clever hacks like using productscope.ai.
Basics of Photography
Before diving into the hacks, let’s brush up on some photography basics. Good product photography hinges on three elements: lighting, composition, and the camera. Understanding these components will help you manipulate your home environment to your advantage. Lighting affects how your product appears in terms of brightness, shadows, and colors. Composition refers to how elements are arranged in the photo, influencing how the viewer’s eye navigates the image. Lastly, knowing your camera, whether a DSLR or a smartphone, allows you to utilize its full potential.
Turn Natural Light to Your Advantage
Natural light is a powerful ally. The soft, diffused light of an overcast day can be perfect for product photography as it reduces shadows and highlights, offering a clear view of your product. Set up your shooting area near a window where indirect natural light floods in. Avoid direct sunlight as it can create harsh shadows and overexposed spots. If natural light is too intense, use sheer curtains to diffuse it. This simple setup mimics a professional softbox, giving your product a flattering appearance without any cost.
Crafting the Perfect Background
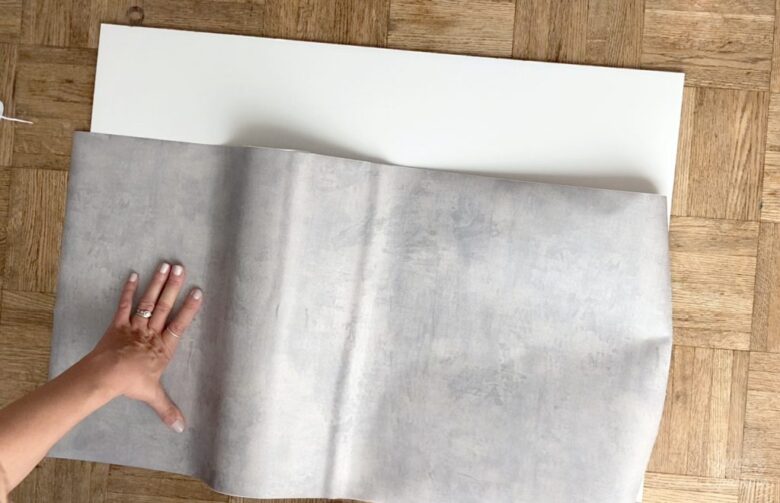
The right background can make your product pop and give your photos a professional look. You don’t need fancy backdrops; a roll of craft paper or a plain bedsheet can work wonders. Choose neutral colors like white, grey, or beige to ensure that your product remains the focal point of the image. Tape the craft paper or fabric to the wall and let it curve onto a table to create a seamless ‘infinity curve’—this eliminates corners and gives your product a floating effect, minimizing distractions and focusing attention purely on the product.
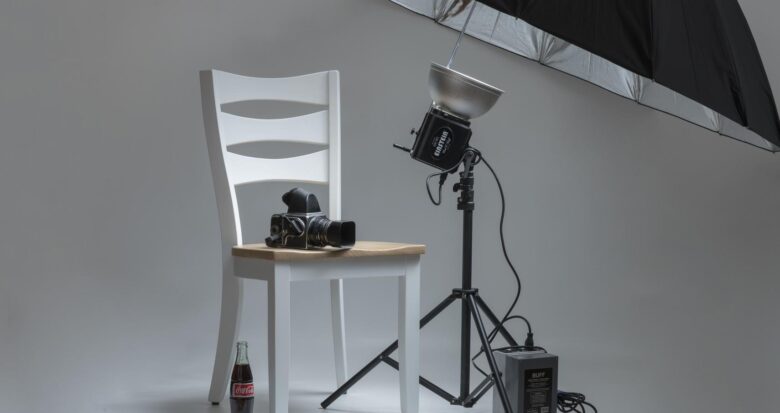
DIY Lighting Solutions
If natural light isn’t enough or you need to shoot at night, you can create an effective lighting setup at home. Use white LED lamps or daylight bulbs to illuminate your products. You can soften the light by bouncing it off a white ceiling or wall, or by using homemade diffusers like white plastic bags or thin white fabric stretched over the light source.
For a more directional light, use a reading lamp with an adjustable neck. Positioning it correctly can highlight the textures and features of your product, adding depth to your photos.
Using Reflectors and Blockers

Sometimes, the challenge with home product photography isn’t the lack of light but controlling it. You can make your own reflector by covering a piece of cardboard with aluminum foil. This can be used to bounce light back onto the product, filling in unwanted shadows and evening out the lighting. Conversely, if you need to reduce glare or intense spots of light, create blockers using black fabric or cardboard. These can be positioned to absorb excess light or shield parts of the product from direct illumination.
Get Creative with Angles and Perspectives
Experimenting with different shooting angles can dramatically change how your product is perceived. Don’t just stick to the traditional front-on shots. Try overhead shots, side angles, and close-ups to showcase various features of your product. Each angle tells a different story, like the quality of a material or the craftsmanship of a handmade item. Moving around your product with your camera also helps you understand its best attributes and how to highlight them.
Post-Production Magic
After you’ve taken your photos, editing is the final step to perfecting them. Tools like Adobe Photoshop and Lightroom are industry standards, but there are also free tools like GIMP and Canva that offer robust editing features.
Adjust the brightness, contrast, and saturation to enhance your photos. Cropping can help reframe the image effectively, and sharpening a bit can make details pop. Remember, the goal is to make the product look its best while keeping the representation honest and true to what customers will receive.
Mastering the Art of Focus
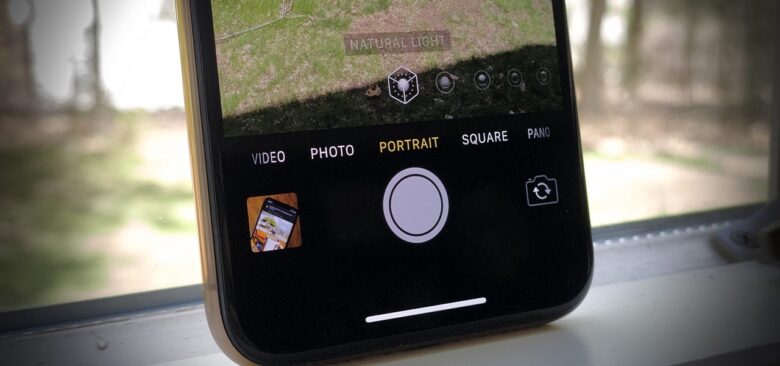
Focus is paramount in product photography. A sharply focused product against a softer background not only highlights your product but also gives your photos a professional depth of field. Most modern cameras and smartphones offer ‘portrait mode’ or manual focus settings that allow you to control this aspect precisely. Always ensure that the most important details of your product are in sharp focus. If you’re using a smartphone, tap the screen on the part of the product you want to be most clear to adjust the focus right before taking the shot.
Harness the Power of Props
Props can add context to your product photography, making it more relatable and appealing. However, choosing the right props is key. They should complement the product and not steal the spotlight. For instance, if you’re photographing kitchenware, natural ingredients like herbs or grains can enhance the setup. Props should match the color palette and theme of the product to maintain coherence in your photos. Remember, the goal is to make the product stand out, so use props sparingly and strategically.
Create a Consistent Look
Consistency in your product photos can significantly enhance your eCommerce brand’s identity. This means consistent lighting, backgrounds, angles, and editing styles across all your photos. This uniformity helps in building a cohesive brand image that customers can recognize and trust. To achieve this, keep a checklist of your setups, like the type of lighting, the background used, and camera settings. This way, you can easily replicate the setup for consistency across multiple product shoots.
Overcoming Common Challenges
Shooting at home often comes with its set of challenges such as space constraints, varying light conditions, and limited equipment. One way to combat this is to dedicate a small area in your home as a temporary studio where you control the elements as much as possible. Use blackout curtains to control natural light and have a set of portable lamps at your disposal. Investing in a few clamps and stands can also help you manage backdrops and lighting more efficiently.